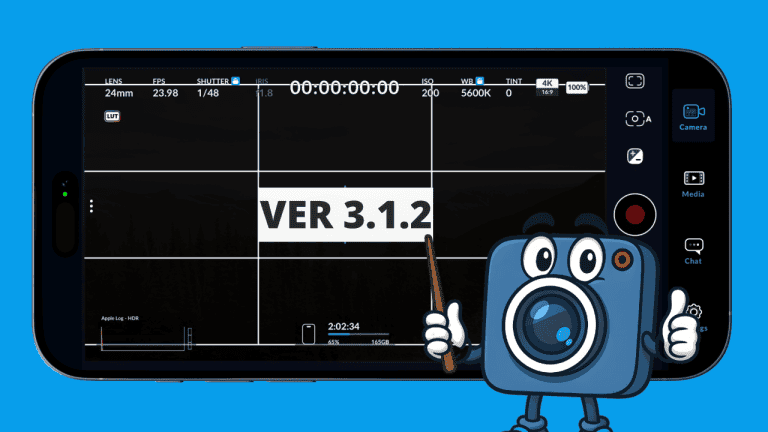
iPhone Filmmaking Settings You Need to Know (Blackmagic App Guide)
Cinematic footage. Pro audio. Perfect exposure. All shot on your iPhone. This guide walks you step-by-step through the most important settings inside the Blackmagic Camera App — so you can create professional-looking videos with the device already in your pocket. By the end of this breakdown, you’ll know exactly how to choose the right lens, frame rate, exposure settings, audio levels, and stabilization options… without getting overwhelmed.
Lens Selection: Choose the Right Field of View
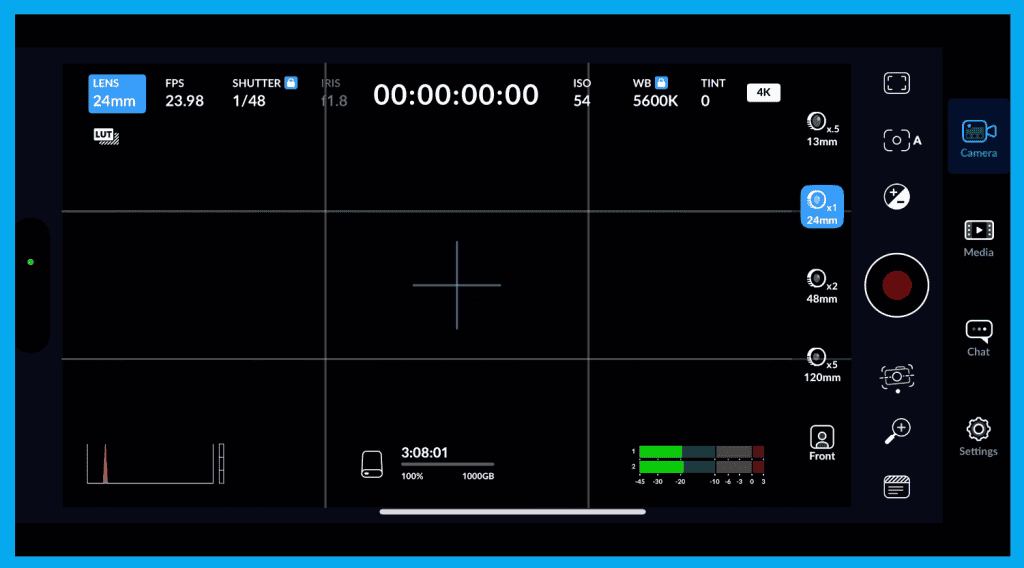
Tap the lens selector in the top-left corner to see all available iPhone lenses.
| Lens | Best Uses | Style |
|---|---|---|
| 13mm Ultra Wide | Tight spaces, landscapes, dynamic motion | Dramatic & energetic |
| 24mm Wide | Everyday filming | Natural & versatile |
| 48mm Telephoto | Portraits, close-ups, isolating subjects | Cinematic depth |
| 120mm Super Tele (Pro Max only) | Long reach, distant subjects | Intense subject separation |
There’s also a front camera toggle just below if you’re vlogging or shooting solo.
FPS: The Setting That Changes Everything
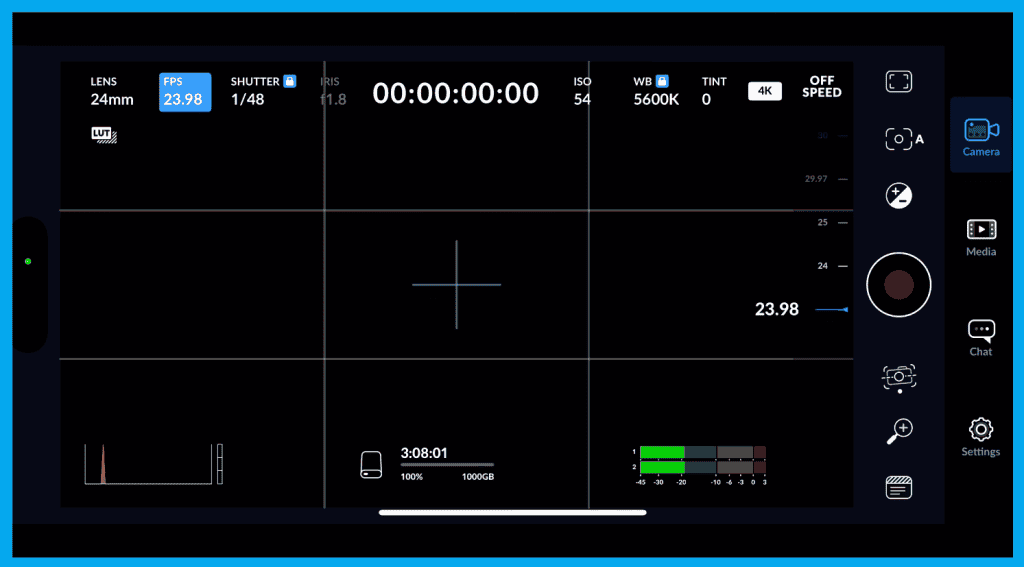
Tap FPS in the top-left menu to select your frame rate.
| Frame Rate | Look / Usage |
|---|---|
| 23.98 / 24 fps | Classic cinematic feel |
| 30 fps | YouTube content, interviews, everyday video |
| 60 fps | Fast motion, crisp slow-mo |
| 120 fps | Ultra slow-motion effects |
Off-Speed Recording (Instant Slow Motion)
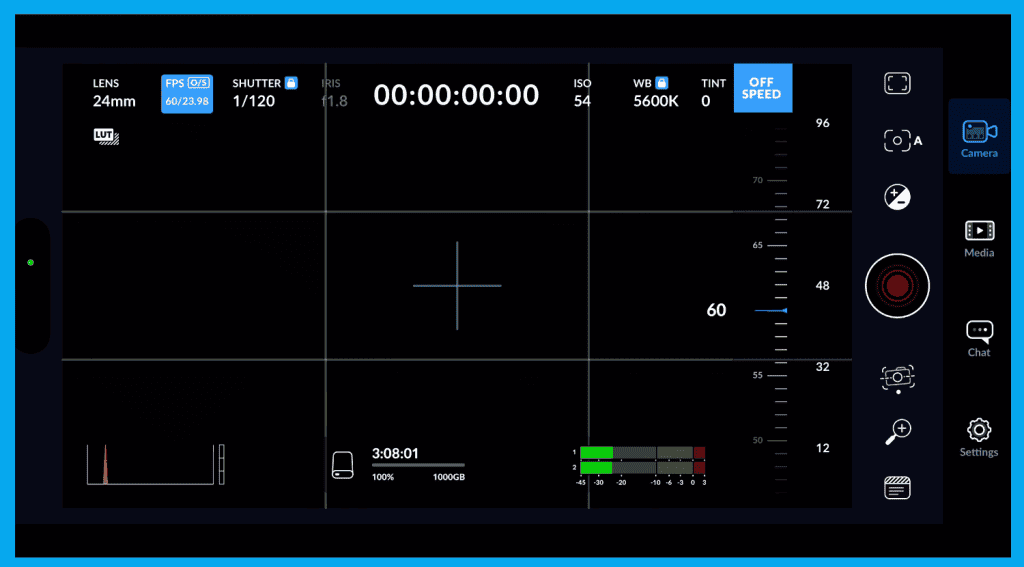
Record at 60 fps while your project is set to 24 fps — the slow motion is baked in automatically.
✔ Perfect when no synced audio is needed
✘ Avoid if you need precise slow-mo in post or dialogue recording
Shutter Speed: Motion Blur + Exposure Control
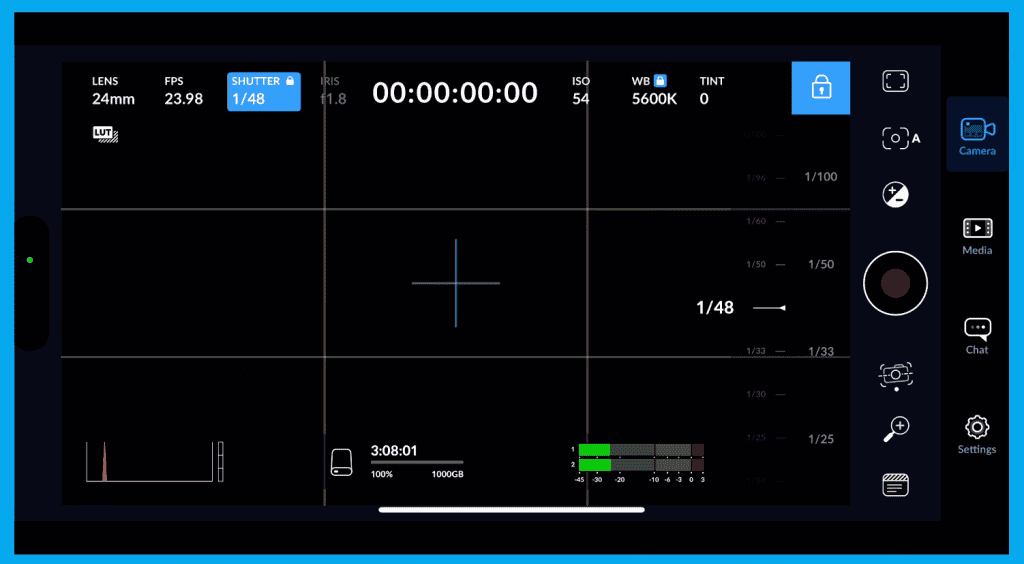
Follow the 180° shutter rule:
Shutter = 2 × Frame Rate
Lock your shutter to avoid fluctuations mid-shot and adjust exposure with ISO or ND filters instead.
ISO: Keep It Clean
ISO: Keep It Clean
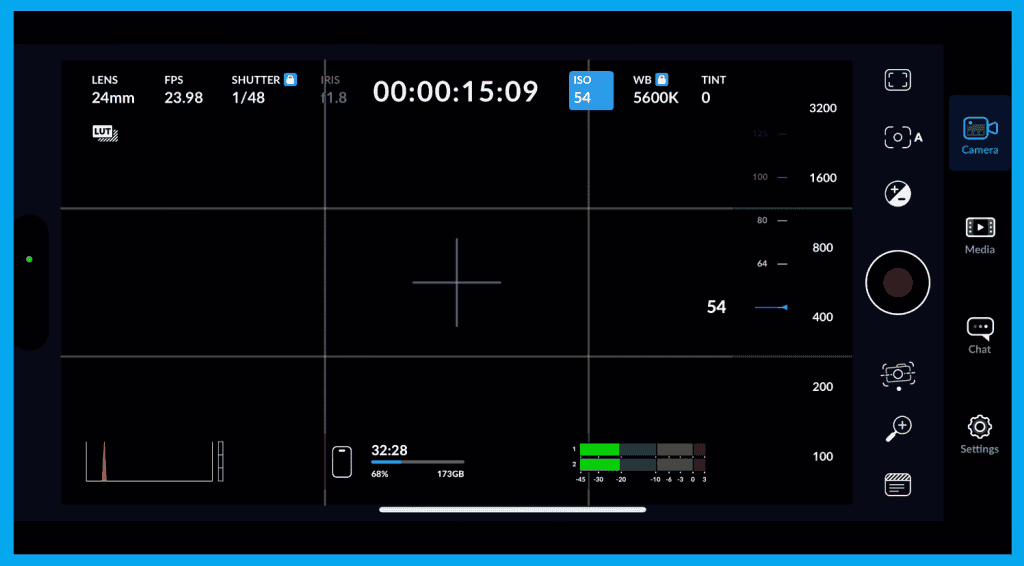
Tap ISO at the top of the screen to adjust sensitivity.
- Lower ISO = cleaner image
- Higher ISO = more noise
✔ Best practice: keep ISO low + use ND filters
✔ Fix lighting before you crank ISO up
White Balance: Lock It Before Recording
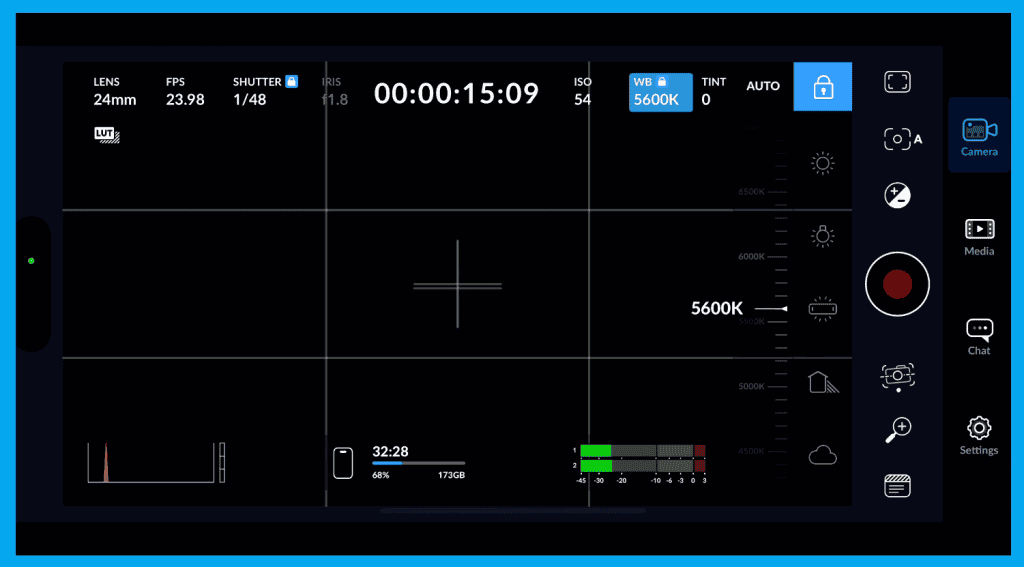
Color temperature appears as a number like 5600K.
Common presets:
- 5600K – daylight
- 6500K – overcast
- 4000K – mixed/fluorescent light
Pro Tip:
Lock WB when possible — only use auto outdoors as a last resort when lighting changes fast.
There’s also a tint slider for fine tuning. Use it sparingly.
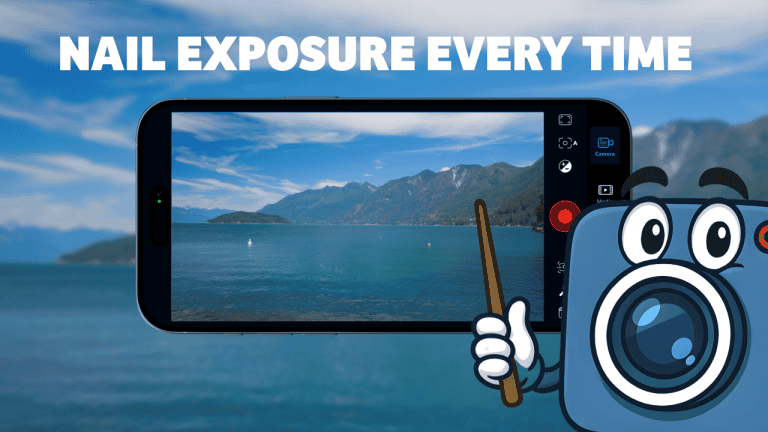
Essential Monitoring Tools
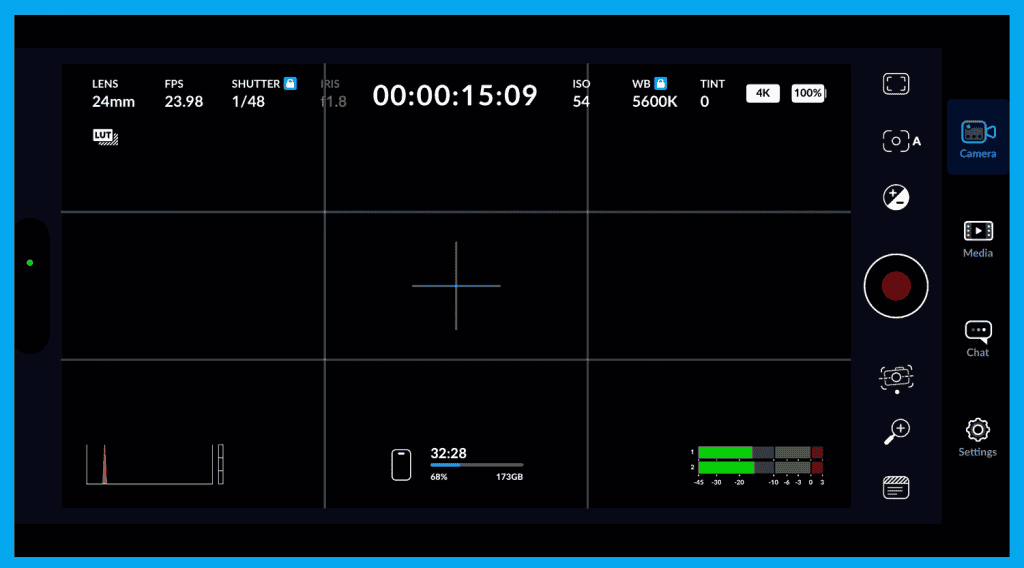
| Tool | Location | Why It Matters |
|---|---|---|
| Recording Timer | Center top | Track clip length down to the frame |
| Histogram | Bottom left | Most reliable exposure indicator |
| Storage Timer | Bottom center | Shows remaining record time |
| Audio Meters | Bottom right | Prevent clipping by staying out of the red |
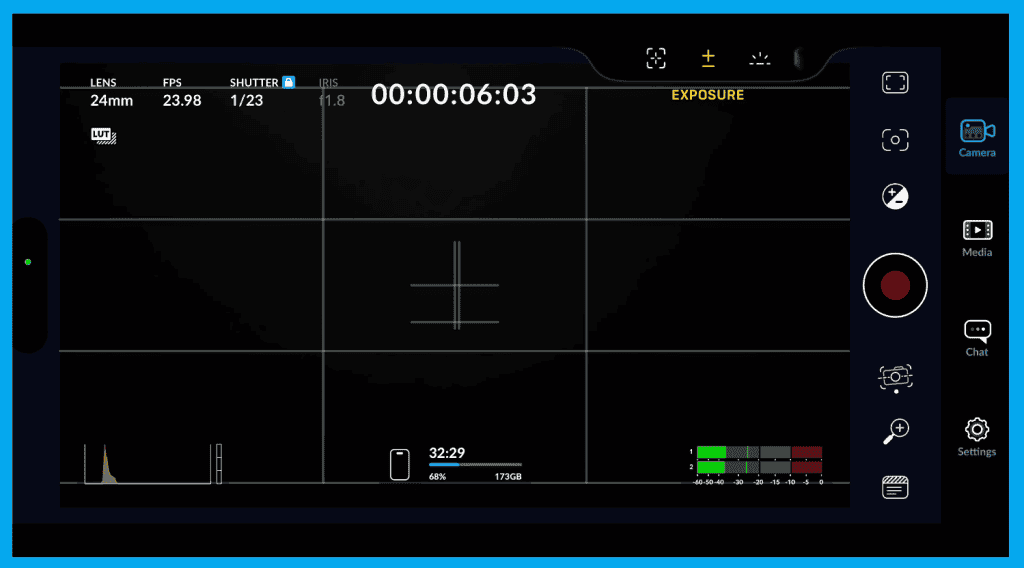
Auto Focus + Exposure Lock
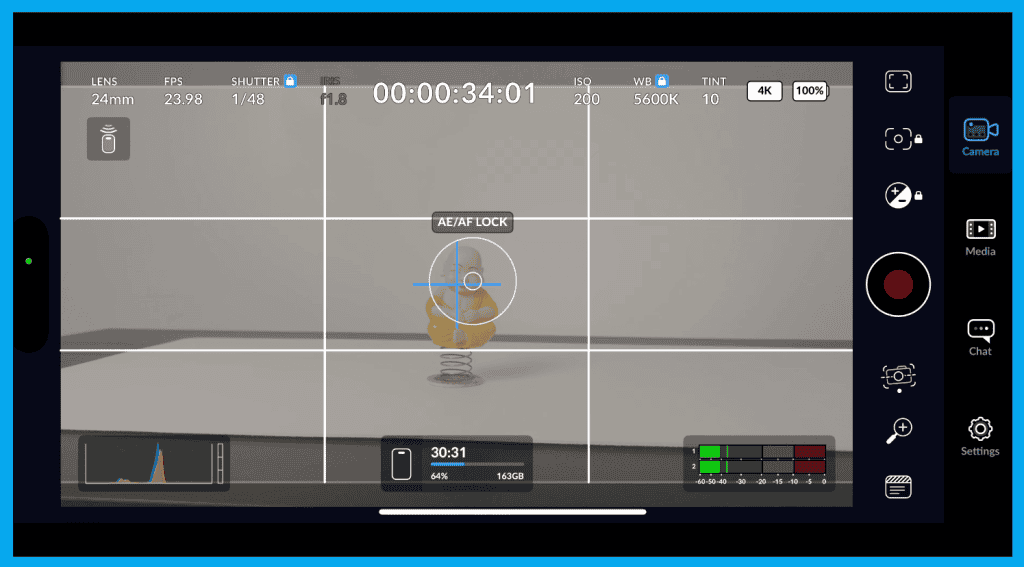
Tap to autofocus, then Tap + hold to lock AE/AF. Great for interviews and controlled shots
Stabilization Modes
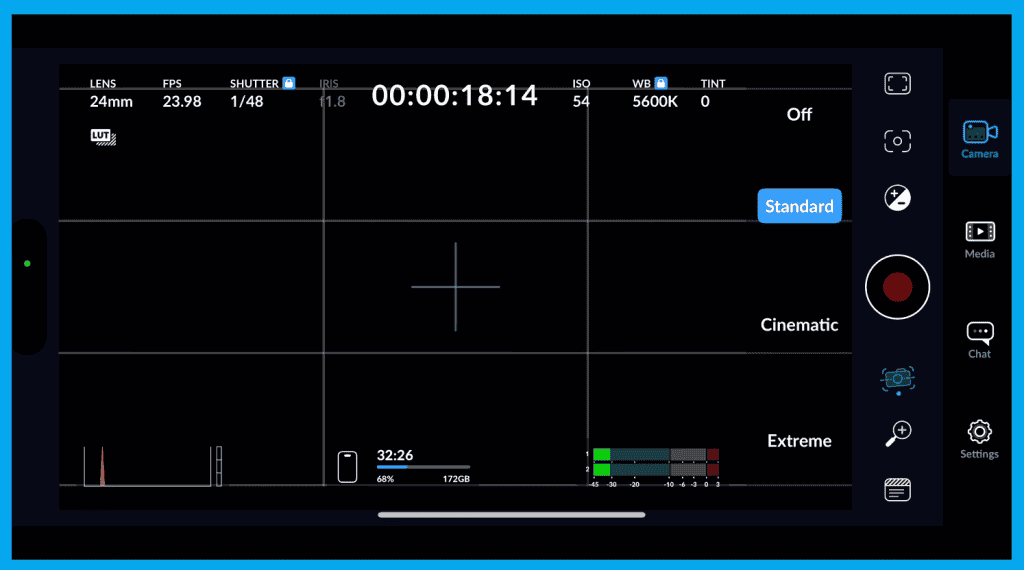
| Mode | Best For | Notes |
|---|---|---|
| Off | Tripod or locked camera | Most accurate image |
| Standard | Everyday handheld | Best balance of smoothness |
| Cinematic | Glide-like movement | More stylized look |
| Extreme | Maximum shake reduction | More crop + possible warping |
Smooth Zoom Control
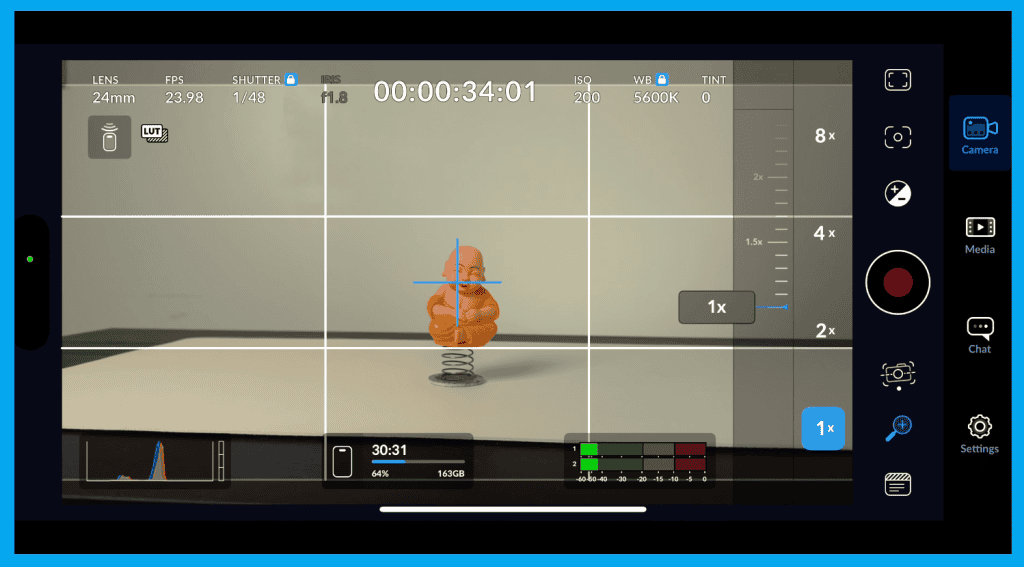
Avoid pinch-to-zoom it’s too jumpy. Instead use preset levels (1x, 2x, 4x) or the slider for clean movement.
Camera Control Button (iPhone 16 + Pro Max)
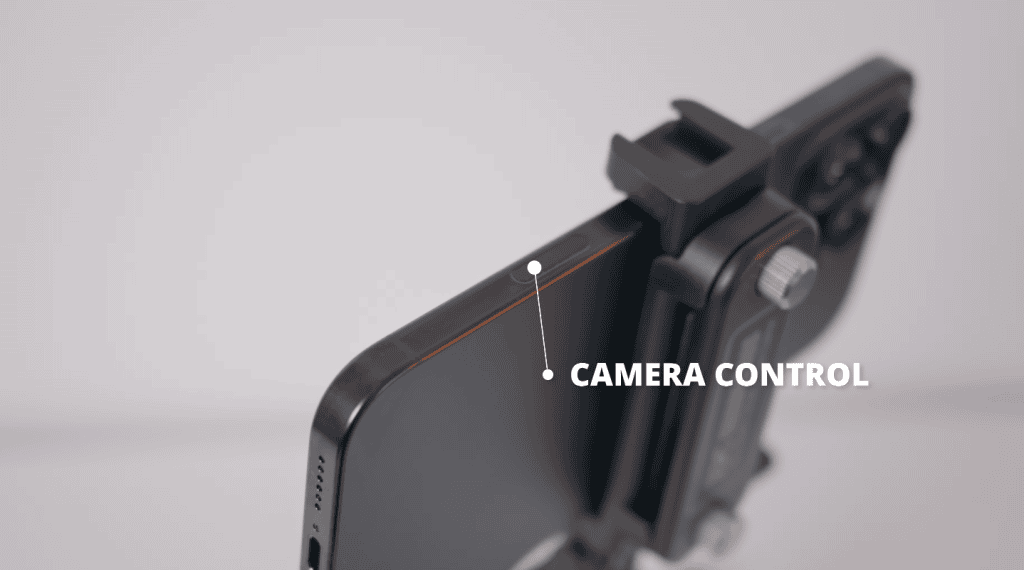
Instant access to:
- ISO / Exposure
- LUT selection
- Manual focus
- Zoom
- Focus peaking
- Zebra overlays
System Permissions Check
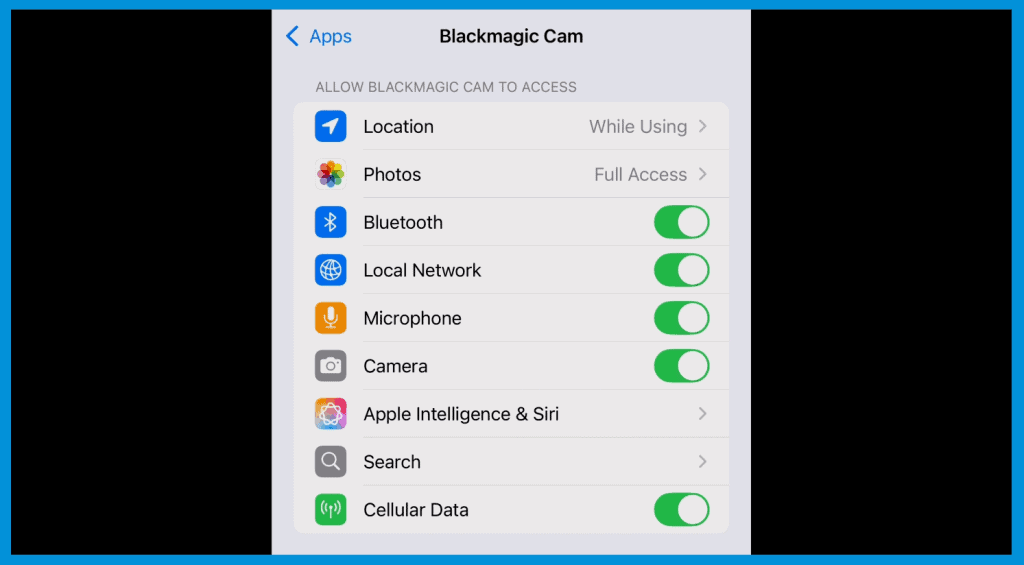
Under About > iOS App Settings, verify access for:
- Camera
- Microphone
- Photos
- Bluetooth
- Cellular data
- Local network
- Location
Fixes issues like missing audio or unresponsive accessories.
Final Thoughts
You now know the core settings that will instantly improve your image quality using the Blackmagic Camera App on iPhone.
Next up? Mastering exposure faster with tools like zebras, false color, LUTs, and histograms.