Does Dehancer Actually Deliver the Film Look? ( Review + Tutorial)
There’s something magical about real film — the texture, the glow, the emotion. So the big question is: can a plugin truly recreate that look digitally? Today we’re breaking down Dehancer inside DaVinci Resolve to see if it actually lives up to the hype.
🎁 You can get 10% OFF using my code:
👉 OSIDEMEDIA10 at checkout
Installing & Activating Dehancer
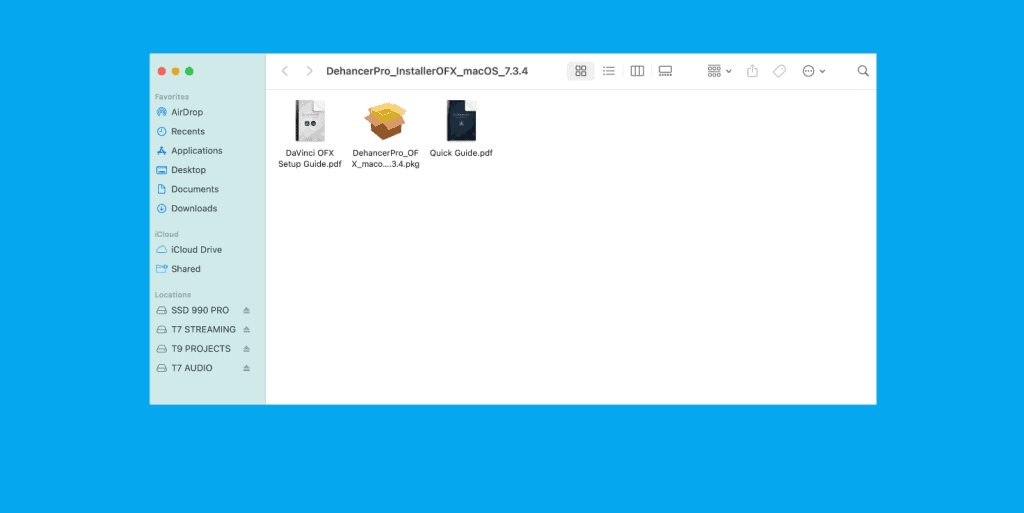
Setup is simple on Mac:
1️⃣ Download installer
2️⃣ Open the package → Continue → Agree → Choose drive
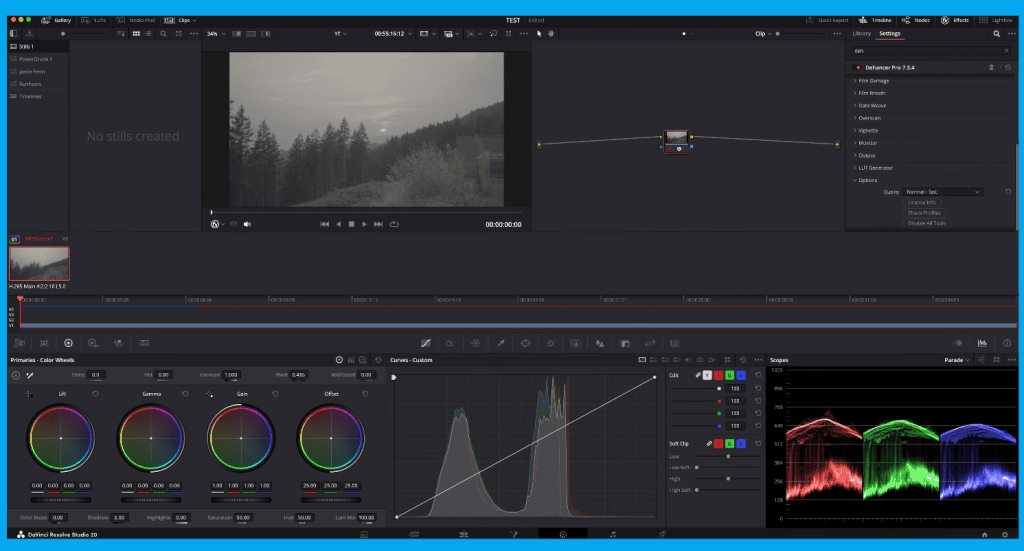
3️⃣ Install + launch DaVinci Resolve
4️⃣ Drag Dehancer onto your node
5️⃣ Log in using your Dehancer account
6️⃣ Click Check Profiles to download film stocks + camera profiles
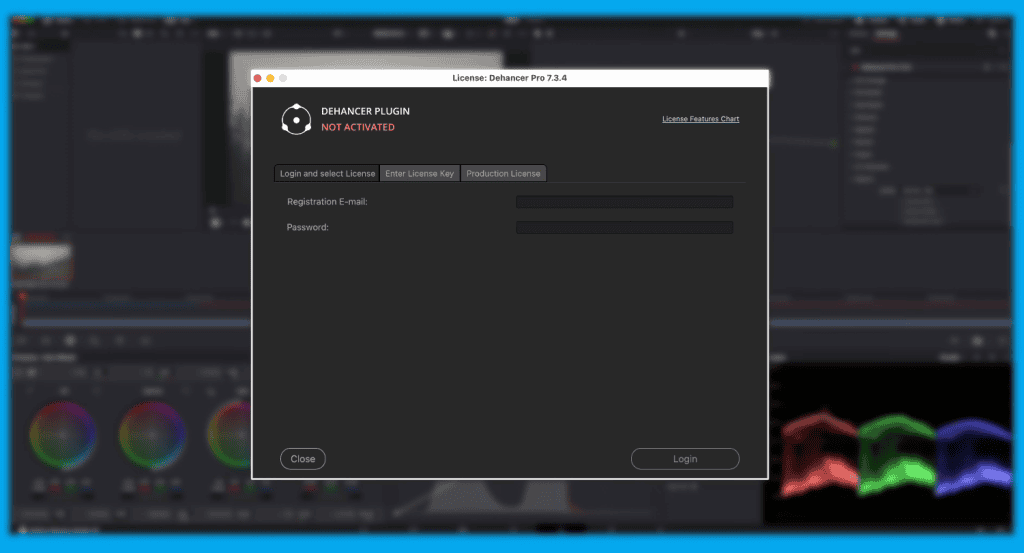
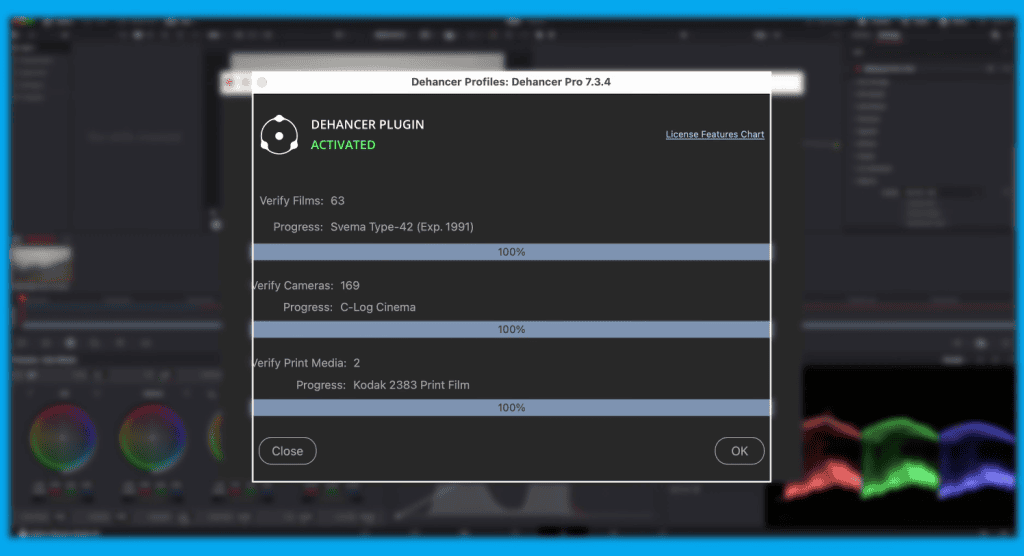
Once activated, switch license status from Not Active → Active.
Workflow Setup: Start With a Clean Slate

Inside the Options section:
- Under options hit Disable All Tools → build the look from scratch
- Then under monitor turn on Clipping Indication→ warns you when highlights clip or shadows crush

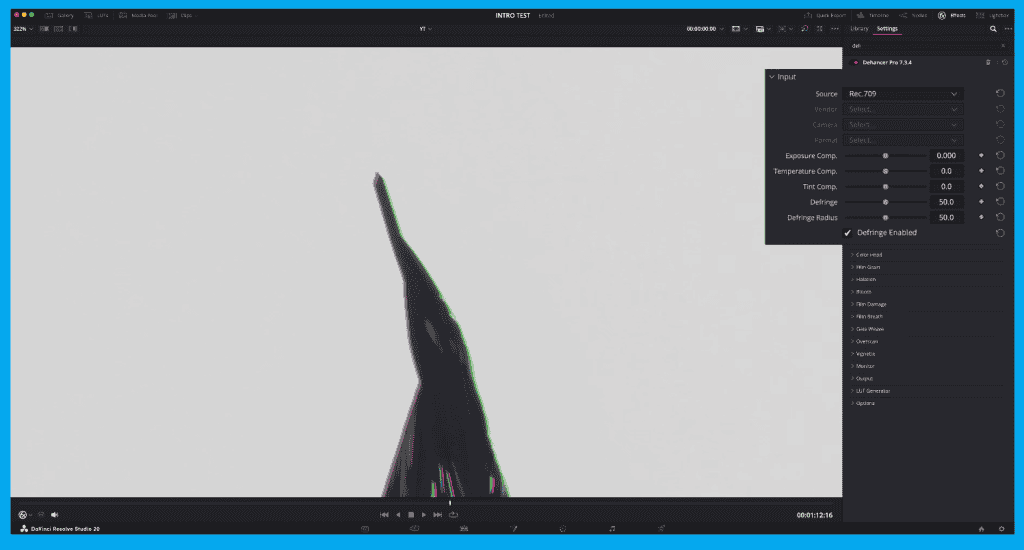
Input Tab
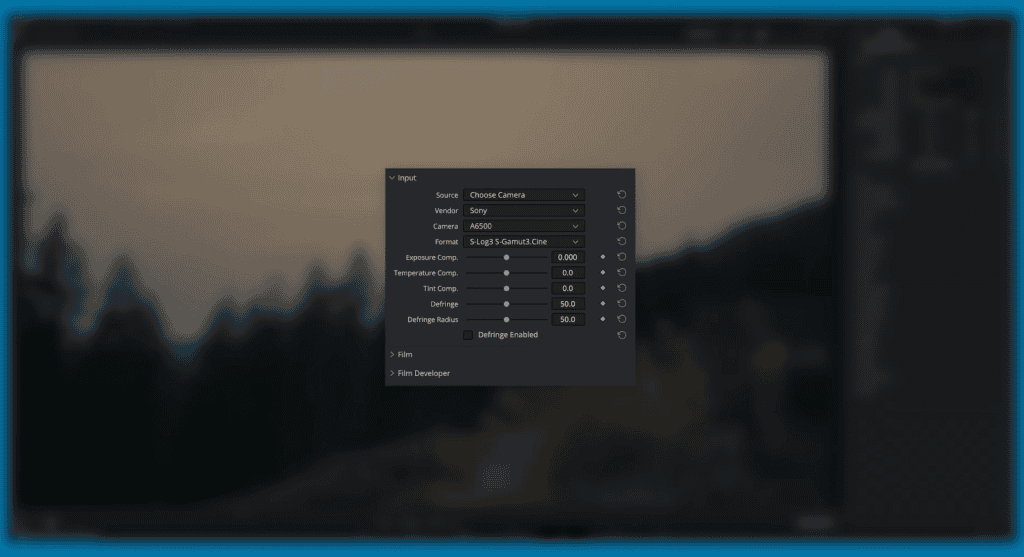
- For Sony S-Log / Apple Log → Select Choose Camera
- For already-converted footage → Select Rec.709
Exposure / Temperature / Tint → technical corrections first, before styling.
Bonus: Enable Defringe for cleaning purple/green chromatic aberration.
Choose Your Film Stock
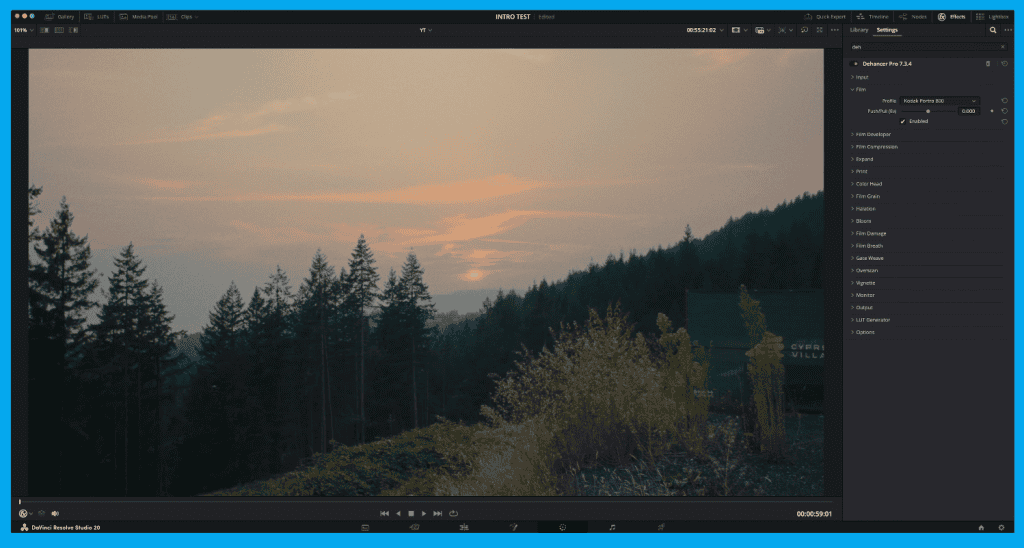
Kodak, Fuji, vintage and experimental film stocks…
Each changes contrast, color, and personality.
No right answer — this is your artistic foundation.
Add Push/Pull to shift mood:
- Push → more contrast / saturation
- Pull → softer, flatter look
Film Developer
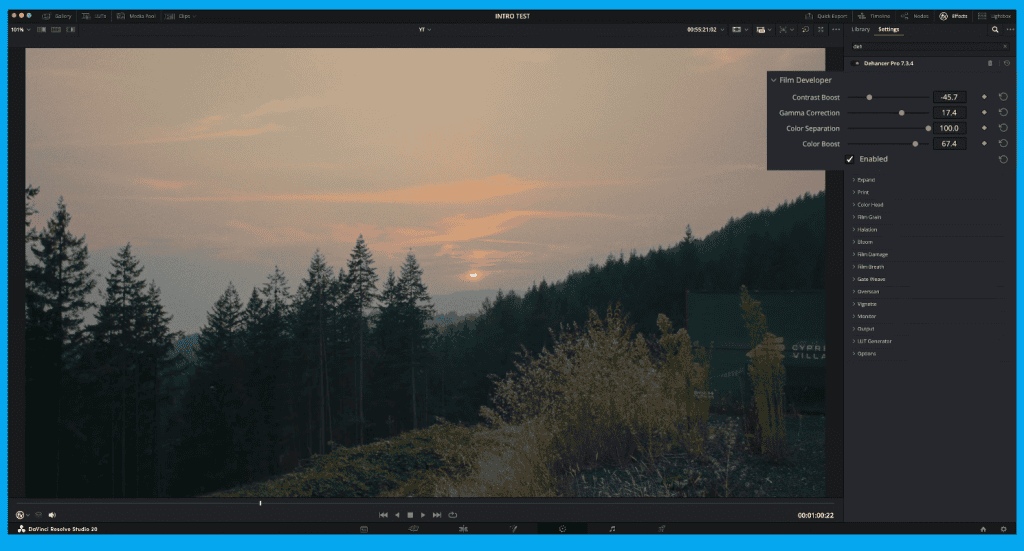
Controls like:
- Contrast Boost
- Gamma
- Color Separation
- Color Boost
Help you shape the curve and richness without breaking the film illusion.
Film Compression
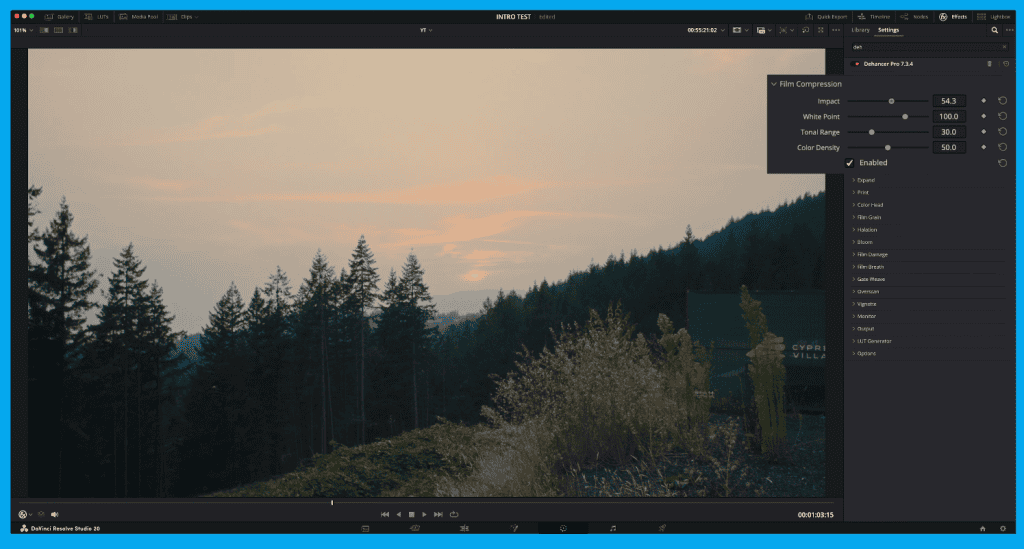
This section is where your footage stops feeling digital:
- Impact
- White Point
- Tonal Range
- Color Density
Smooth highlight roll-off = real film vibes.
Expand
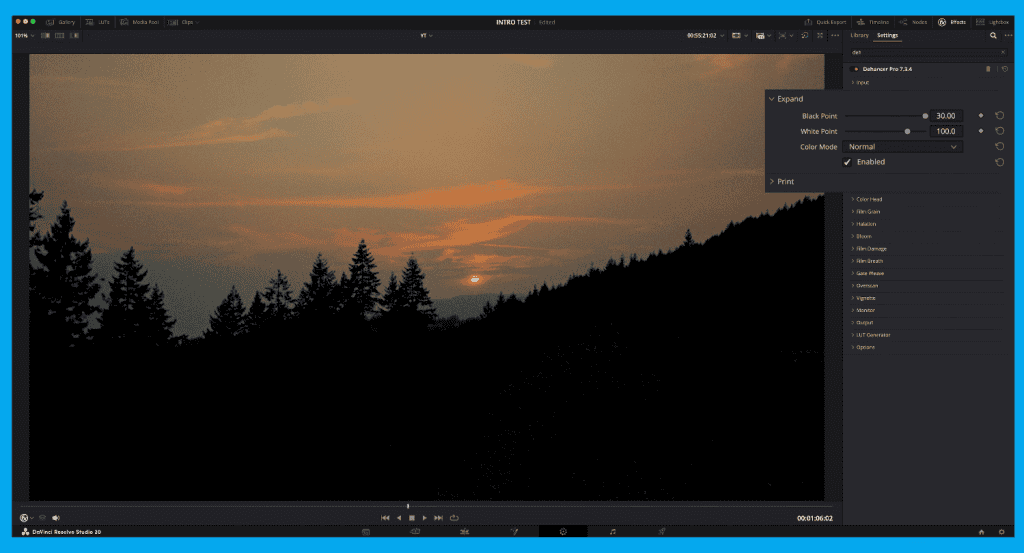
The Expand section lets you “stretch” your image so it fully sits on the canvas — defining your true black and true whitepoints.
- Black Point controls how deep your shadows go
- White Point controls how bright your highlights can get
You can also change Color Mode:
- Normal – Adjusts brightness and subtly influences color
- Luma – Adjusts only luminance, leaving hue/chroma untouched
Print
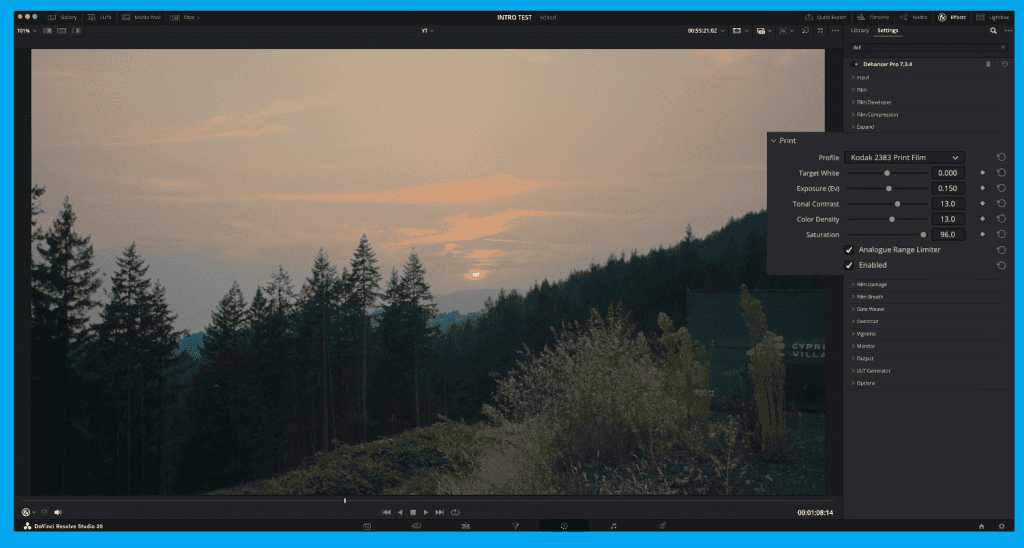
Profiles include:
- Kodak 2383 → Hollywood cinema
- Fujifilm 3513 → softer Fuji tones
- Cineon Log → classic archival look
Keep Analog Range Limiter ON — preserves realistic tone boundaries.
Color Head
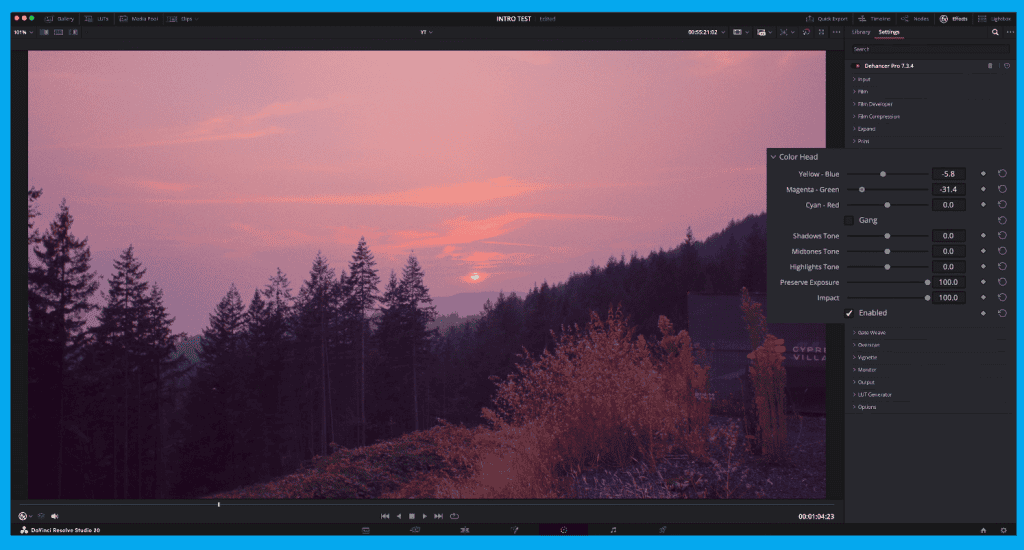
Three-way balancing:
- Yellow–Blue
- Magenta–Green
- Cyan–Red
Plus shadow/mid/highlight toning and Preserve Exposure.
Film Grain
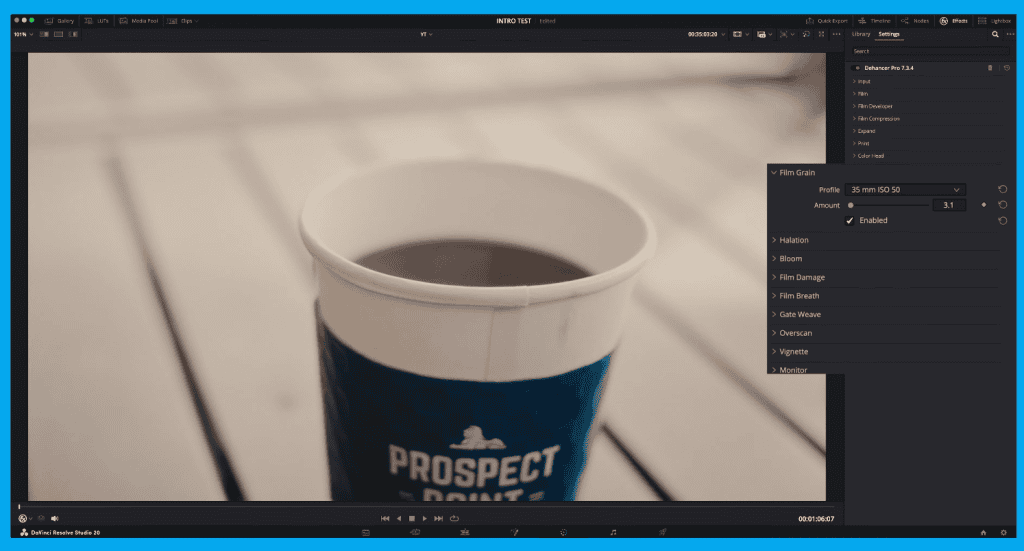
You can simulate:
- 8mm
- 16mm
- 35mm
Then fine-tune size, resolution, and chroma.
Aim for subtle — grain should be felt, not noticed.
Halation + Bloom
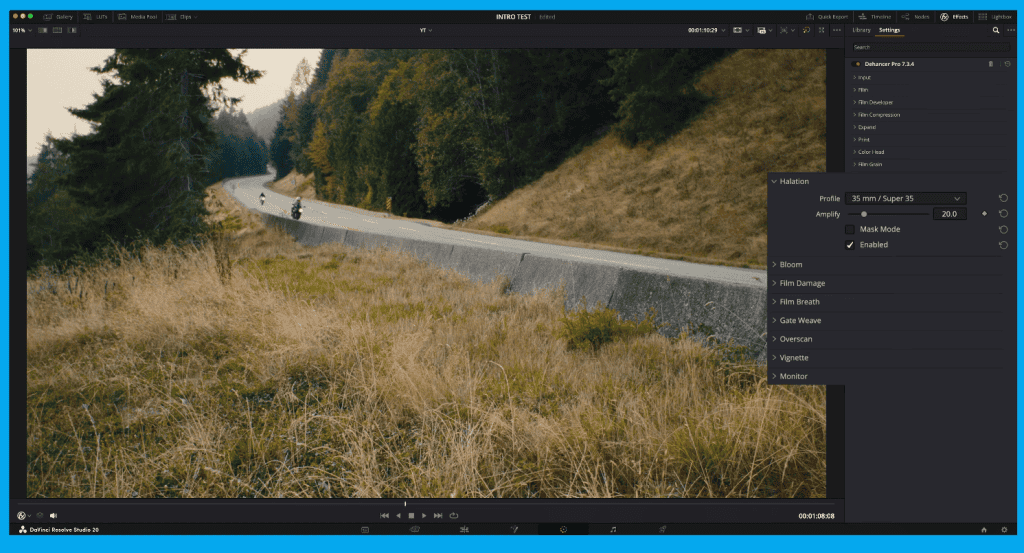

- Halation → reddish glow on bright edges
- Bloom → soft glow around highlights
Both support custom controls + masks for precision.
Small tweaks here = instant film energy.
Film Damage + Gate Weave + Film Breath
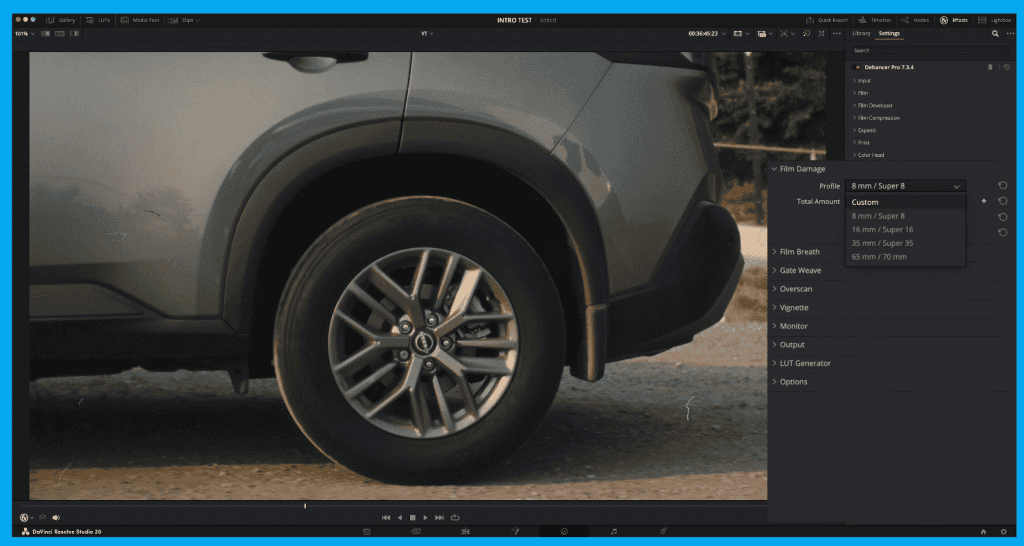
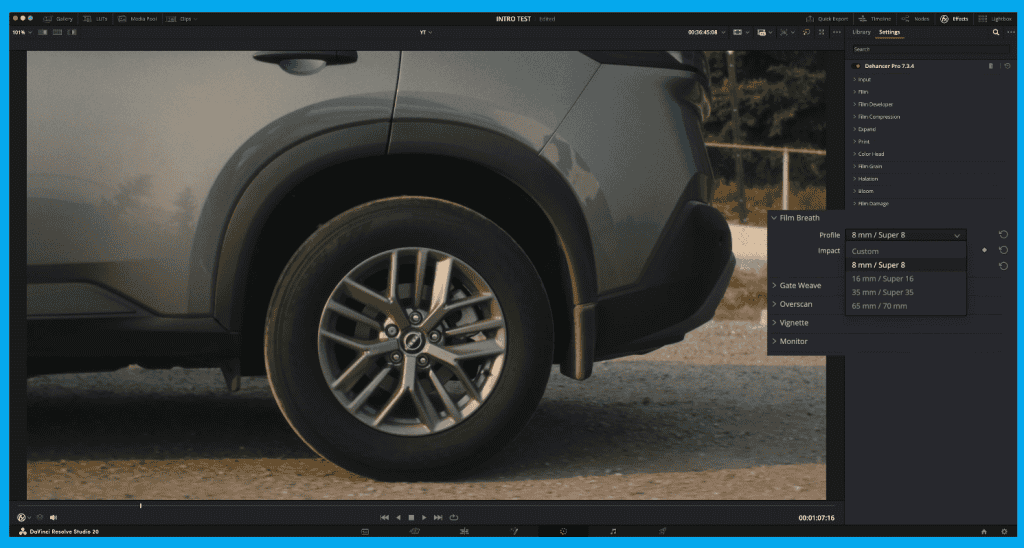
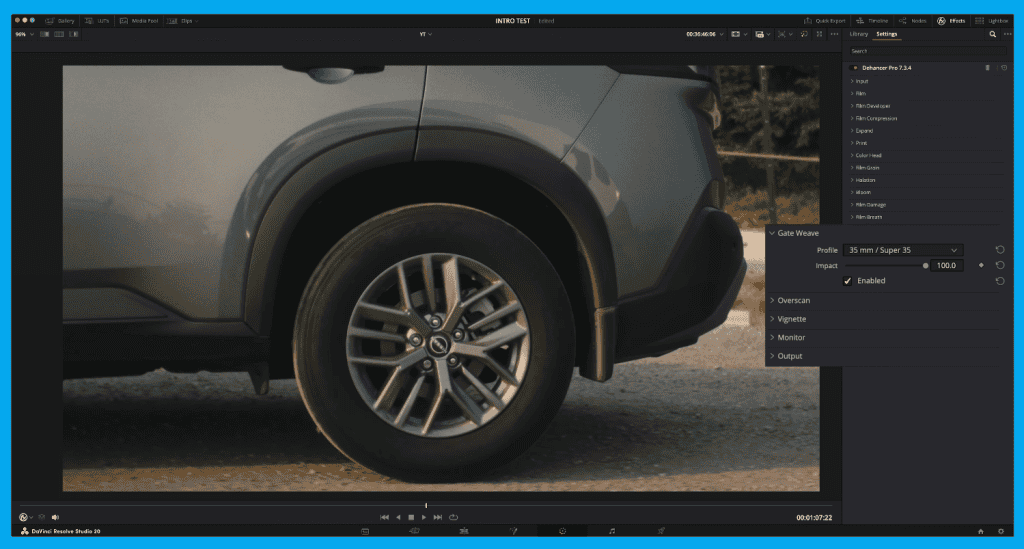
Optional effects that add
- Dust & scratches
- Frame wobble
- Flickering exposure shifts
Tiny amounts help sell nostalgia and realism.
Overscan + Vignette
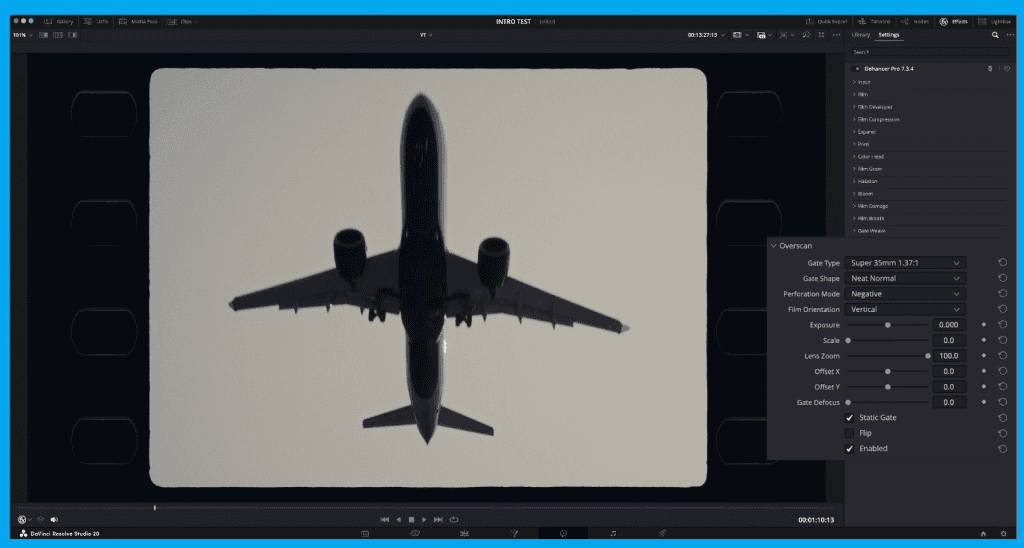
Overscan
Real film doesn’t perfectly fill the frame — you sometimes see the film gate edges from the camera.
Overscan lets you zoom out slightly so you see:
- Gate shadows
- Subtle frame borders
- The natural “film inside a projector” look
It adds authenticity — like you’re watching a real scanned negative instead of a digital file.
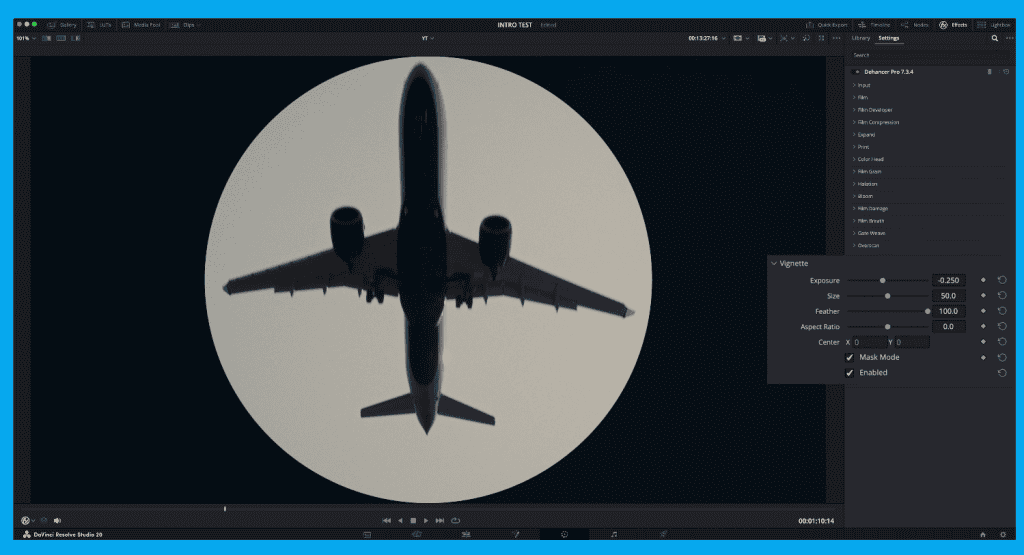
Vignette
Used to guide viewer attention by subtly darkening (or brightening) the corners:
- Softens edge distractions
- Adds vintage depth
- Complements halation + bloom for emotional focus
And with the Mask mode, you can shape and position the vignette exactly where your subject lives.
Monitor Tools — False Color IRE
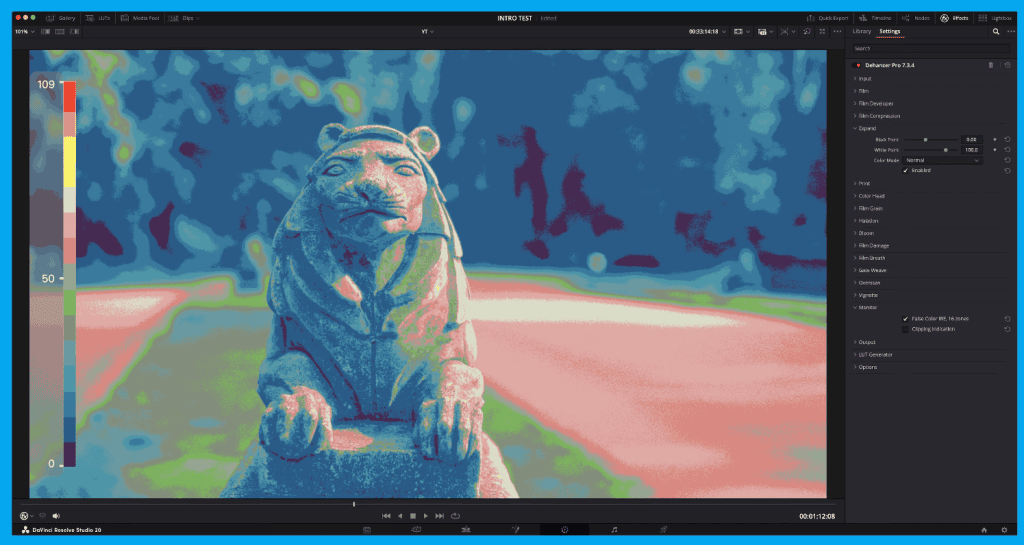
Grades are more accurate with exposure mapping on.
This display doesn’t affect the final render.
LUT Export — Use Your Look Anywhere
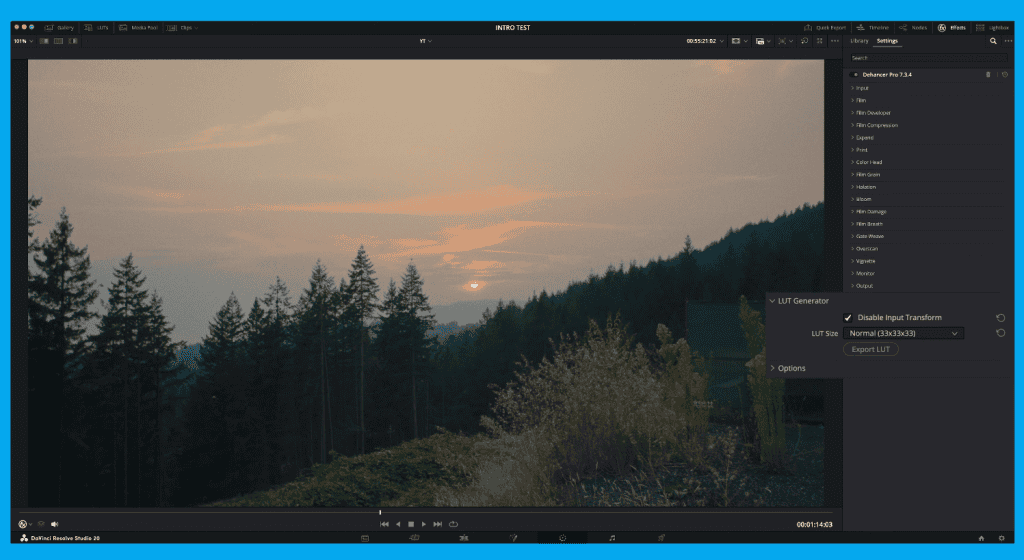
Export small/normal LUTs to:
- Cameras
- Mobile apps
- Other editing platforms
You’re not locked to one specific editor — huge plus.
Render Settings
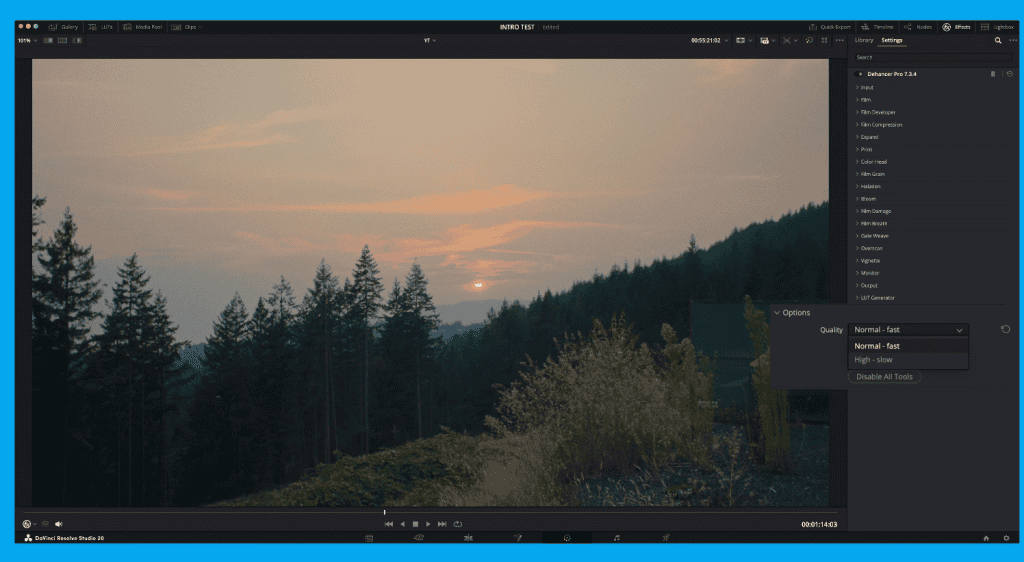
Do your all your adjustments first,
then max out image quality before final export.
Final Verdict — Does Dehancer Deliver?
Yes.
Dehancer isn’t trying to be “stylized film.”
It’s trying to be real film: texture, randomness, chemical behavior.
But — it’s a flexible tool.
Use 100% Dehancer, or combine it with DCTLs or your own grade.
The strength is customization to your visual style.
🎁 Remember:
10% OFF → OSIDEMEDIA10