DaVinci Resolve Project Manager: Beginner’s Guide
New to DaVinci Resolve? This guide explains the DaVinci Resolve Project Manager—the screen you see at startup—so you can create, organize, back up, restore, and archive projects with confidence.
DaVinci Resolve Project Manager Overview
- It’s where every edit begins. Create, open, organize, and manage projects here.
- “Project Library” = “Database.” Think of a library as a container that holds all your projects—their edits, timelines, color grades, effects, and settings.
- It does not store your media. Your video, audio, and images can live on your desktop, an external SSD, or a NAS. The library only keeps project data and references.
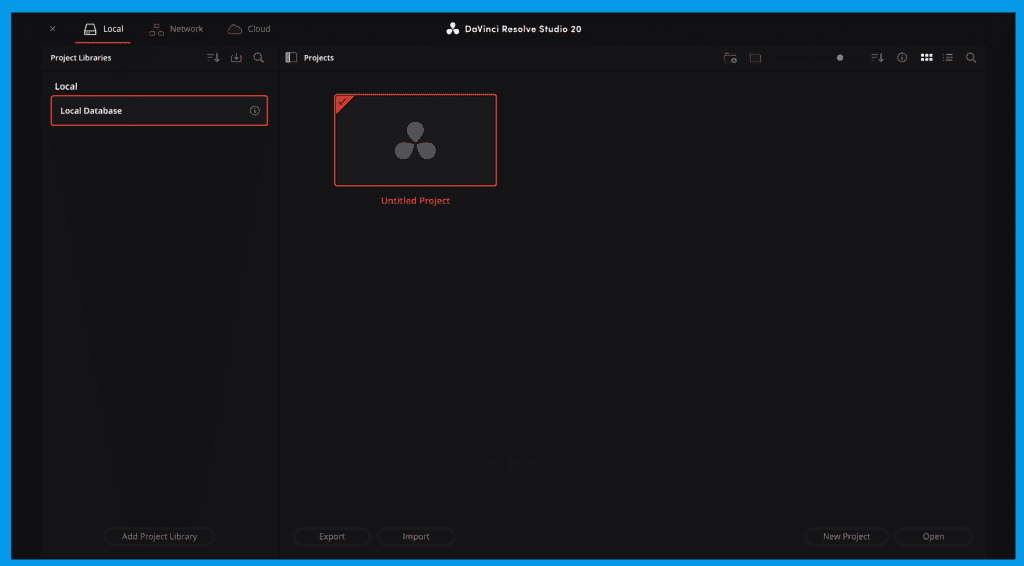
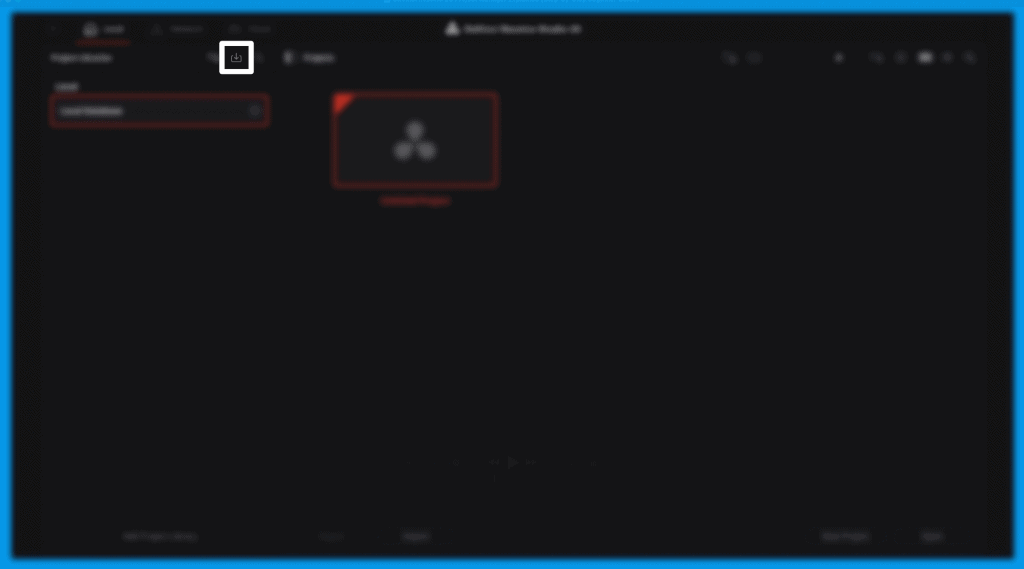
The Interface at a Glance
- In the DaVinci Resolve Project Manager, the left panel lists your Project Libraries (local, networked, or cloud).
- Right panel: The Projects inside the currently selected library.
- Show/Hide Libraries: Use the tiny libraries icon near the top if the left panel is missing.
- Search (libraries only): Quickly filter libraries by name (it doesn’t search inside projects).
- Filter by…: Narrow libraries by name, schema (database format version), status, and location. Schema matters when sharing between versions or importing older libraries.
- Sort: Ascending/descending for each option.
Create a Project Library in DaVinci Resolve Project Manager
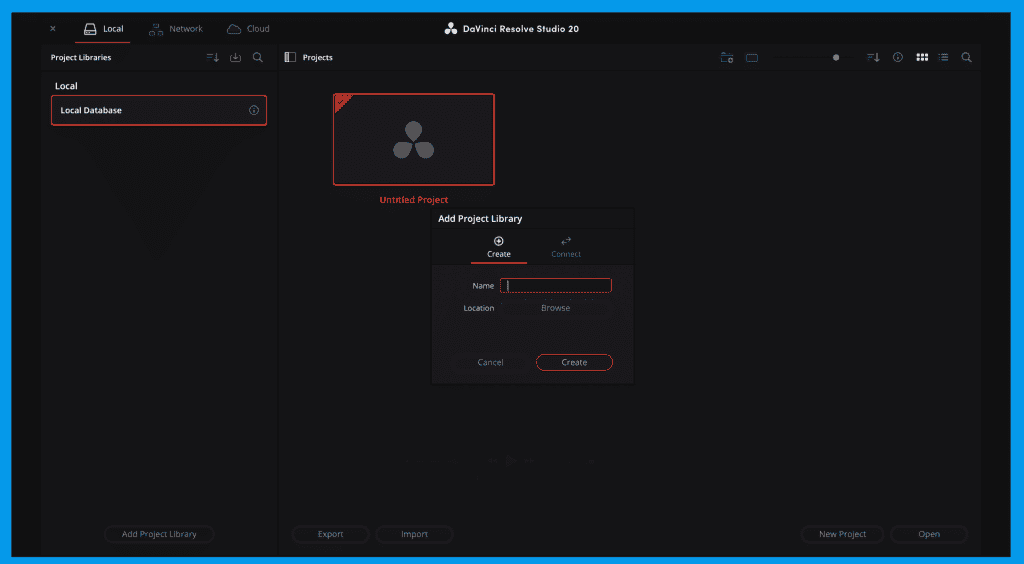
- To create a new library, open the DaVinci Resolve Project Manager and click Add Project Library. (bottom-left of the Libraries panel).
- Choose Create.
- Fill in Name (e.g., “YouTube Projects”) and Location (browse to a folder on your computer or external drive).
- Click Create. Your new library appears under Local.
- Select the library and click the small “i” (info) icon to view:
- Location: Folder path on disk
- Status: Compatibility/health
- Created/Modified: Timestamps
- Reveal in Finder: Open the library folder
- Duplicate: Make an exact copy (great for versioned backups or testing)
- Backup: Saves a .resolve.diskdb backup (project data only; no media)
- Remove: Disconnects the library from Resolve’s list (files remain on disk)
Backup tip: The .resolve.diskdb backup contains database files only—not media. Keep media safe on your drives and back it up separately.
Restore a Project Library from Backup
- Click Restore in the Libraries details.
- Select your .resolve.diskdb backup.
- Confirm and let Resolve restore the library.
- The restored library appears in the left panel—open it like any other.
Reconnect an Existing Library (When Projects Go “Missing”)
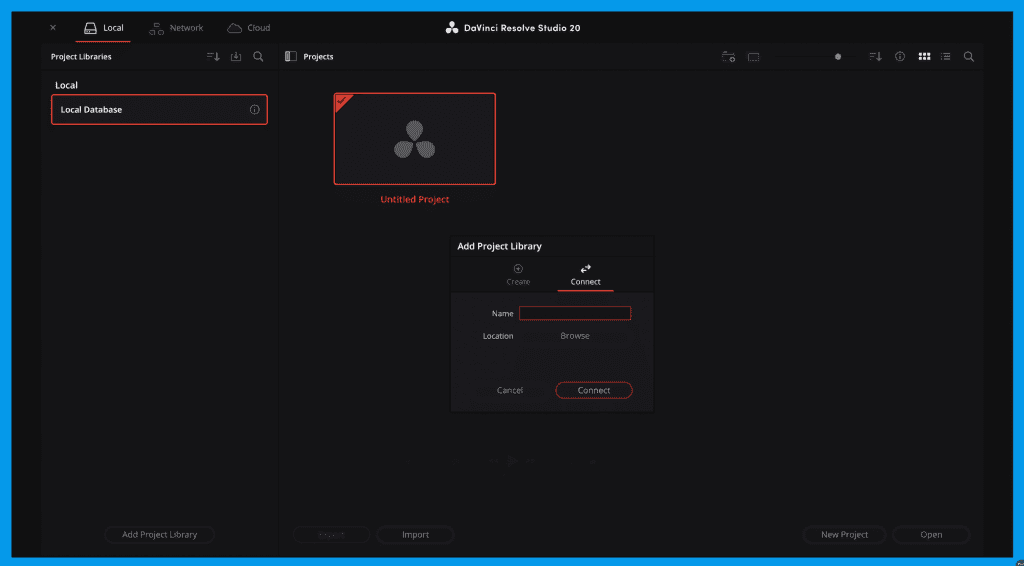
If you moved a database folder or reinstalled Resolve:
- Add Project Library → Connect.
- Enter a descriptive Name (“Client Database”, “External SSD Projects”).
- Browse to the top-level folder that contains the Resolve projects.
- Click Connect. If the path/structure is correct, all projects reappear instantly in the Projects panel.
Project Panel Controls You’ll Use a Lot

Top controls
- Add Folder: Organize projects (e.g., YouTube vs. client work).
- Copy Project To: Move a project between local, network, or Blackmagic Cloud libraries.
- Size Slider: Adjust thumbnail size.
- Sort Menu: Sort by name, date modified, timeline count, format (resolution/frame rate).
- Info Toggle: Show extra details under thumbnails.
- Views: Thumbnail grid or List.
- Search + Filter: Search projects by name; filter by name, format, or notes.
Bottom actions
- Export: Save a project as a .drp (project file only; no media).
- Import: Bring a .drp into the current library.
- New Project and Open (double-clicking a project opens it too).
Right-Click Menu:
in the DaVinci Resolve Project Manager
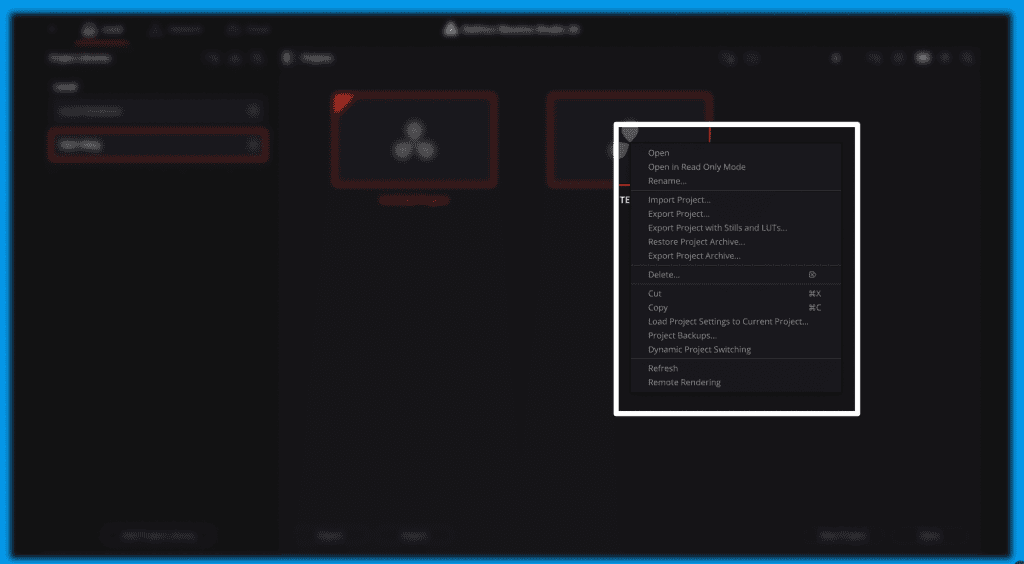
- Open / Open in Read-Only: Read-only is perfect for reviews or preventing accidental edits.
- Rename
- Import Project / Export Project (.drp)
- Export Project with Stills & LUTs: Includes gallery stills and LUTs with the .drp.
- Gallery stills: Saved frames of your graded footage to copy grades between clips.
- LUTs: Lookup tables that apply preset color styles.
- Export Project Archive (.dra) — the full-backup option
- A .dra can include: the .drp, gallery stills, LUTs, timeline structure/metadata, media (if selected), render cache (if selected), and proxy media (if selected).
- Don’t forget to check the Media box if you want a truly portable archive.
- Ideal for long-term storage, moving to another system, or sharing a complete, relink-free project.
- Restore Project Archive (.dra)
- Delete (permanent—use backups!)
- Cut / Copy (move or duplicate projects)
- Load Project Settings to Current Project: Pulls over settings (resolution, frame rate, color) without media/edits.
- Project Backups: View and restore earlier versions (after enabling backups in Preferences).
- Dynamic Project Switching: Keep multiple projects open in tabs (uses more memory—beginners can leave this off).
- Close Project in Memory frees resources without quitting Resolve.
- Refresh: Updates the project list (handy for shared setups).
- Remote Rendering: Send a project to a connected workstation/render farm (advanced; beginners can leave this off).
Collaborating: Network vs. Cloud
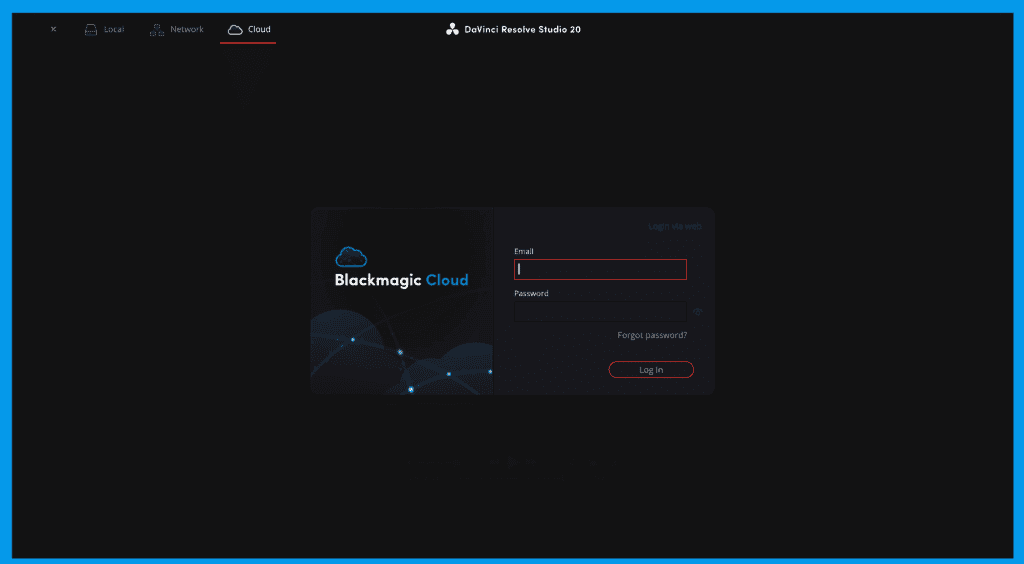
- Network tab: Share a project library with editors on the same local network for team collaboration.
- Blackmagic Cloud tab: Collaborate over the internet using Blackmagic’s subscription service; projects sync via the cloud
Final Thoughts
Once you understand libraries vs. media—and how to create, back up, restore, and archive—you’ll stay organized from day one. The Project Manager is the clean foundation your edits deserve.
Looking to build the Ultimate iPhone Camera Rig? This guide walks you through every piece of gear you need—from cages and audio to power and monitoring—for a truly pro setup.
What is the Project Manager in DaVinci Resolve?
The Project Manager is the home screen where you create, open, organize, and manage projects. The left panel lists your Project Libraries (databases), and the right panel shows the projects inside the selected library.
Does the Project Manager store my media files?
No. A Project Library stores project data (edits, timelines, grades, settings), not your media. Keep your video, audio, and images on your drives and back them up separately.
How do I create a new Project Library (database)?
Click Add Project Library → Create, name it, choose a location, then use the Info (i) panel to reveal in Finder, duplicate, back up, or remove the library.
How do I back up and restore a Project Library?
Back up: In the library’s Info panel, click Backup to save a .resolve.diskdb (project data only). Restore: Click Restore, choose the backup, and it reappears in the Libraries list.
What’s the difference between exporting a .drp and a Project Archive (.dra)?
.drp: Project file only—no media. .dra: A portable package that can include the .drp, stills, LUTs, and (if selected) your media, render cache, and proxies for a relink-free transfer.