Stop Bad Audio – Blackmagic App Sound Settings Revealed
Your footage can look amazing… but if your audio sucks, your project’s dead. The good news? You can stop bad audio before you ever hit record. This guide breaks down every key audio setting in the Blackmagic Camera App so you can capture clean, professional sound using just your iPhone and a microphone.
Audio Source — Choose the Right Microphone
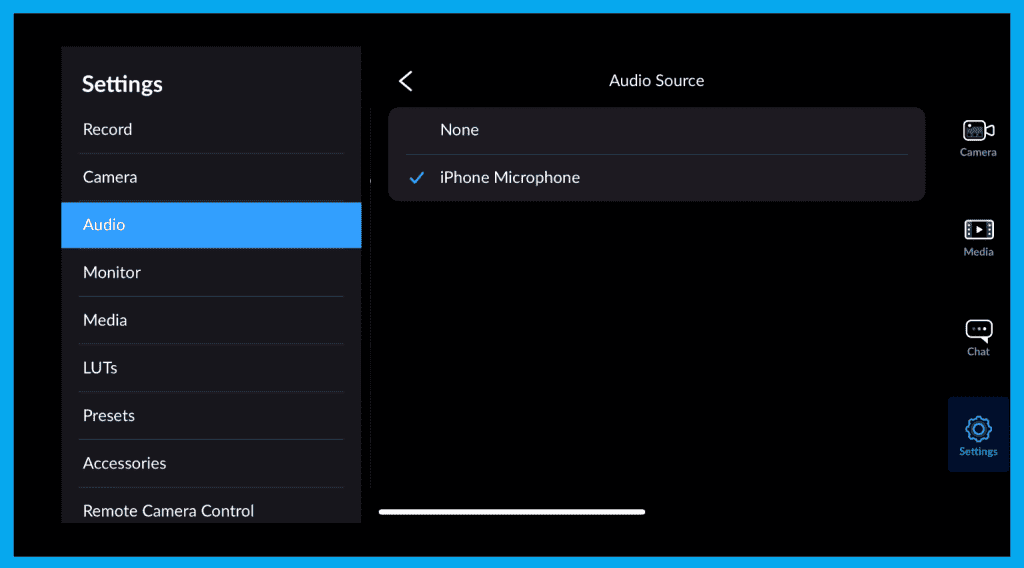
This controls what mic the app uses. By default, it selects the iPhone’s internal microphone — but if you have a connected lav or shotgun mic, MAKE SURE you choose it here.
You can also disable audio completely for silent B-roll.
Quick Tip: The app might not auto-switch to an external mic — always double-check this setting before recording!
Built-In Mic Selection
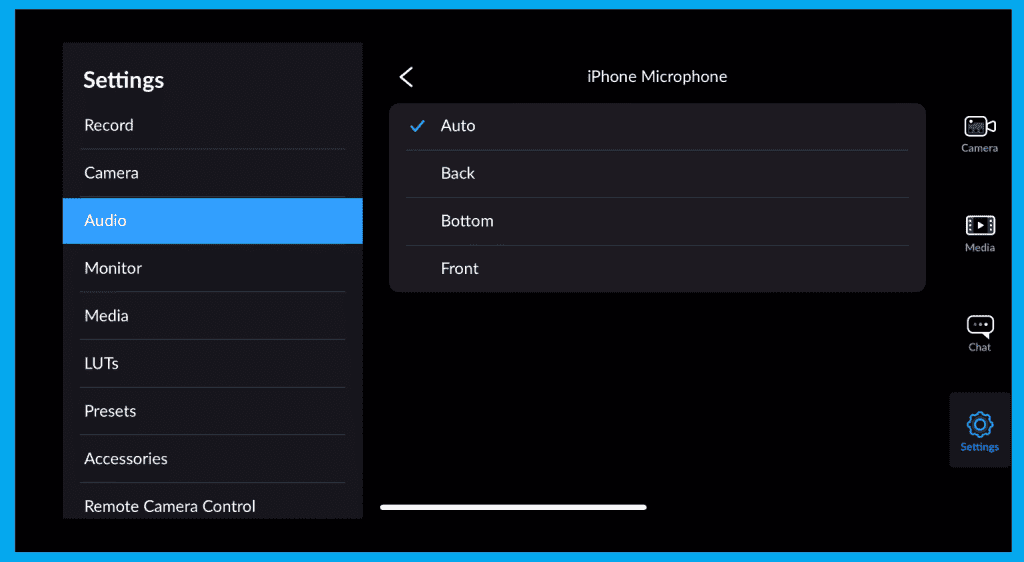
When not using an external mic, you can select which internal mic to use based on your camera angle
| Mic Option | Best For |
|---|---|
| Auto | Lets the app choose |
| Front | Selfie shots, vlogging |
| Back | Primary camera use |
| Bottom | Standing portraits, handheld |
Audio Format
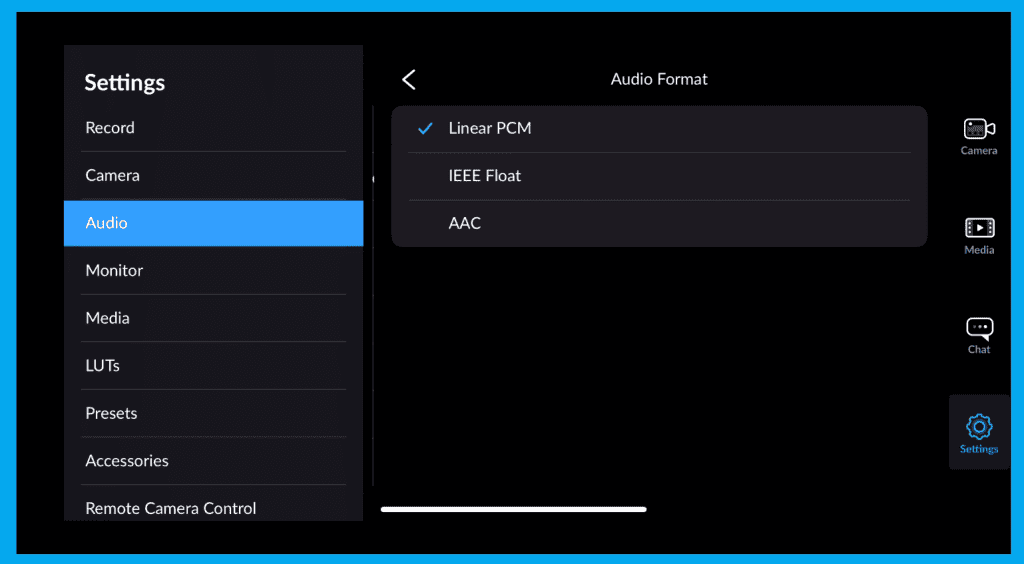
| Format | Type | When to Use |
|---|---|---|
| PCM | Uncompressed (fixed-bit: 16-bit / 24-bit) | High-quality audio for editing, ProRes workflows, broadcast delivery, mixing in post |
| AAC | Compressed (lossy) | Smaller file sizes, casual videos, social media, everyday recording |
| IEEE FLOAT | Uncompressed (floating-point: 32-bit) | Maximum fidelity, extended headroom, ideal for sound design and heavy processing in professional post |
Recording Mode — Mono, Stereo & 4-Channel
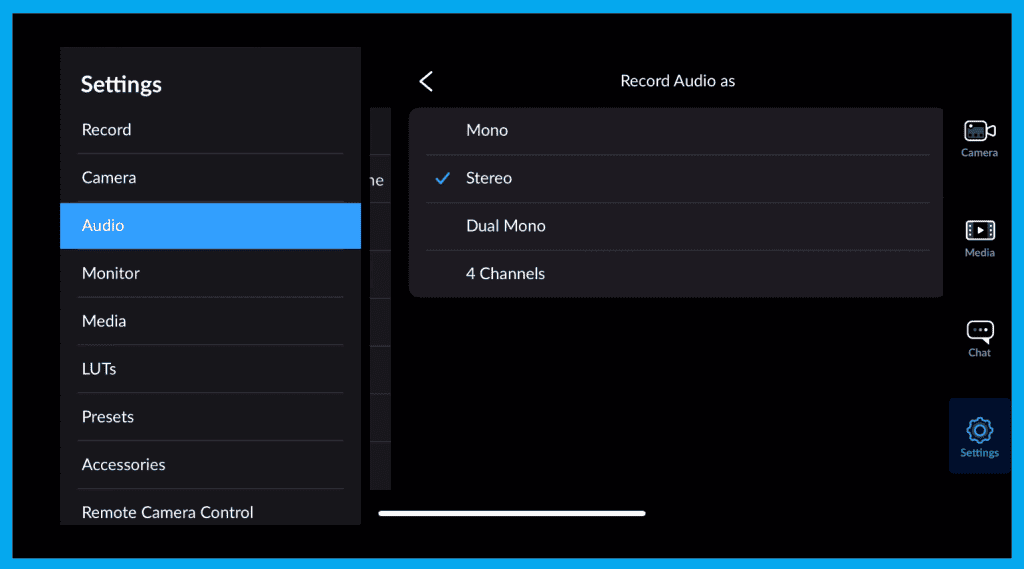
This changes how your channels are captured.
| Mode | Ideal Use |
|---|---|
| Mono | Single mic setups (lavalier / shotgun) |
| Dual Mono | Mono sent to both L+R equally |
| Stereo | Two mics or environmental sound |
| 4-Channel | Multi-source audio routed through an interface |
Note: iOS doesn’t support multi-track audio unless routed through a device like a Rodecaster.
Sample Rate
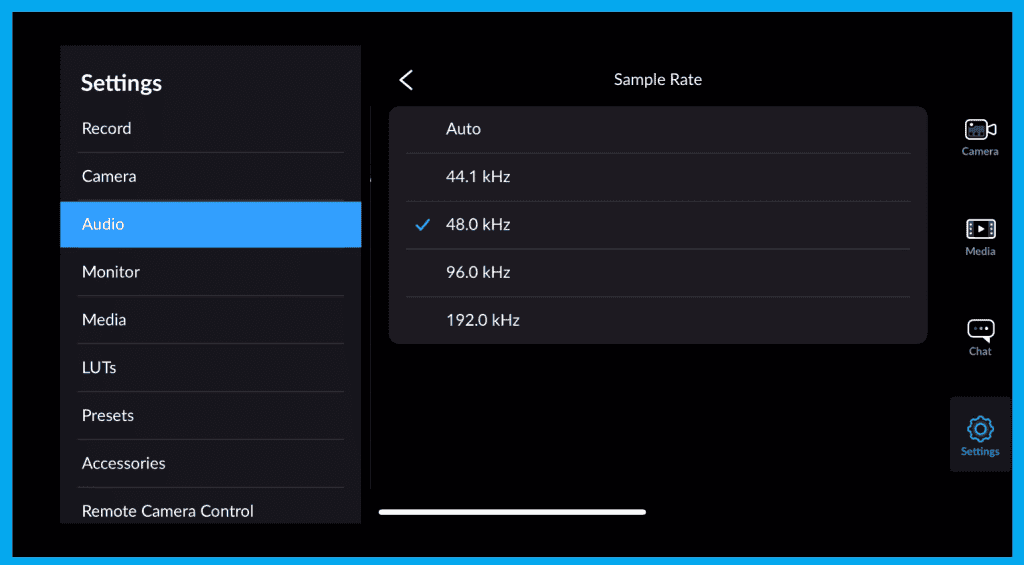
Options: 44.1 / 48 / 96 / 192 kHz
Recommendation: 48 kHz ✔️
Clean sync + film-standard compatibility.
Audio Metering — Your Real-Time Safety Net
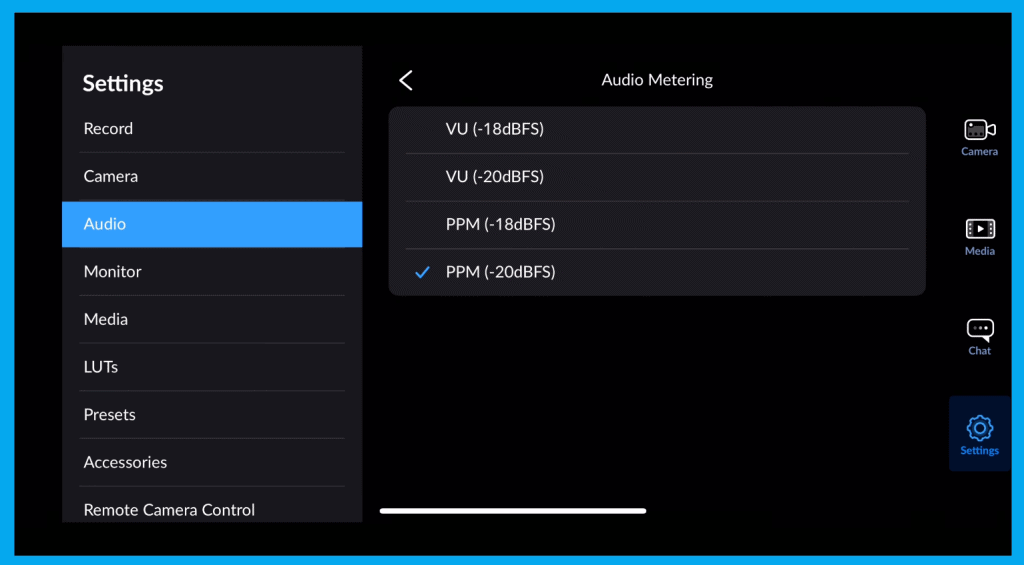
Meter types available:
| Meter Type | Best Use |
|---|---|
| VU meters | General loudness levels |
| PPM meters | Prevent clipping / peak control |
Recommended Setting: PPM -20 gives you safe headroom so sudden peaks don’t distort.
Audio Monitoring
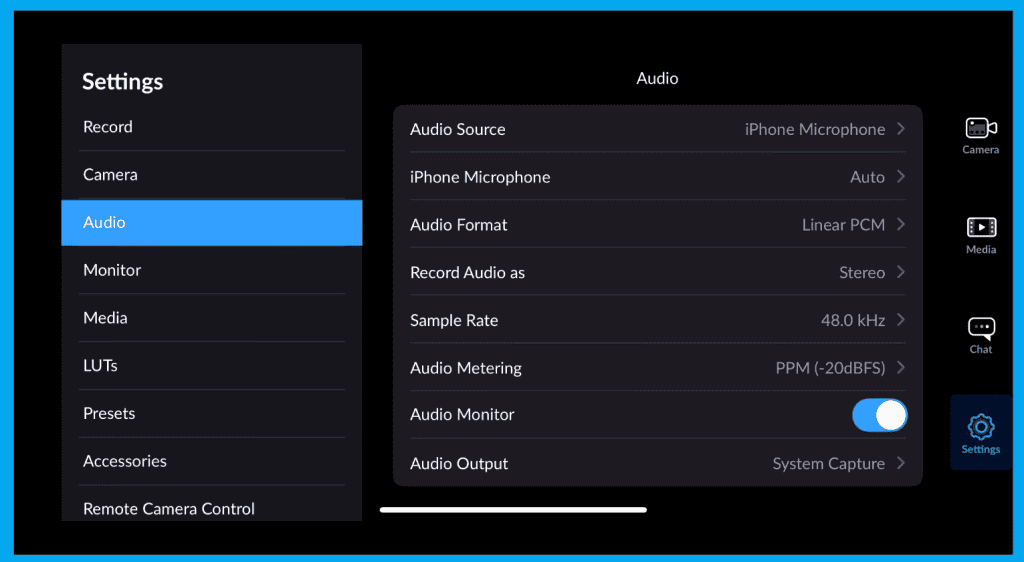
Enable this to listen while recording.
Options include:
- System Caputre
- AirPlay devices
- Bluetooth headphones
⚠️ BUT — wireless monitoring has noticeable audio delay. Use wired headphones for best accuracy.
Quick Pro Audio Workflow Checklist
- Set audio source manually
- Choose Back/internal mic only if no external
- Format: IEEE FLOAT
- Mode: Mono / Dual Mono for single mic
- Metering: PPM-20
- Monitor with wired headphones
🔁 Test → Adjust → Record
Final Thoughts
Clean audio instantly increases your video’s professionalism. With just these settings, you’ll capture dialogue that’s clear, rich, and broadcast-ready.
Next in the series: LUTs & Creative Looks in the Blackmagic Camera App